
Getting Started
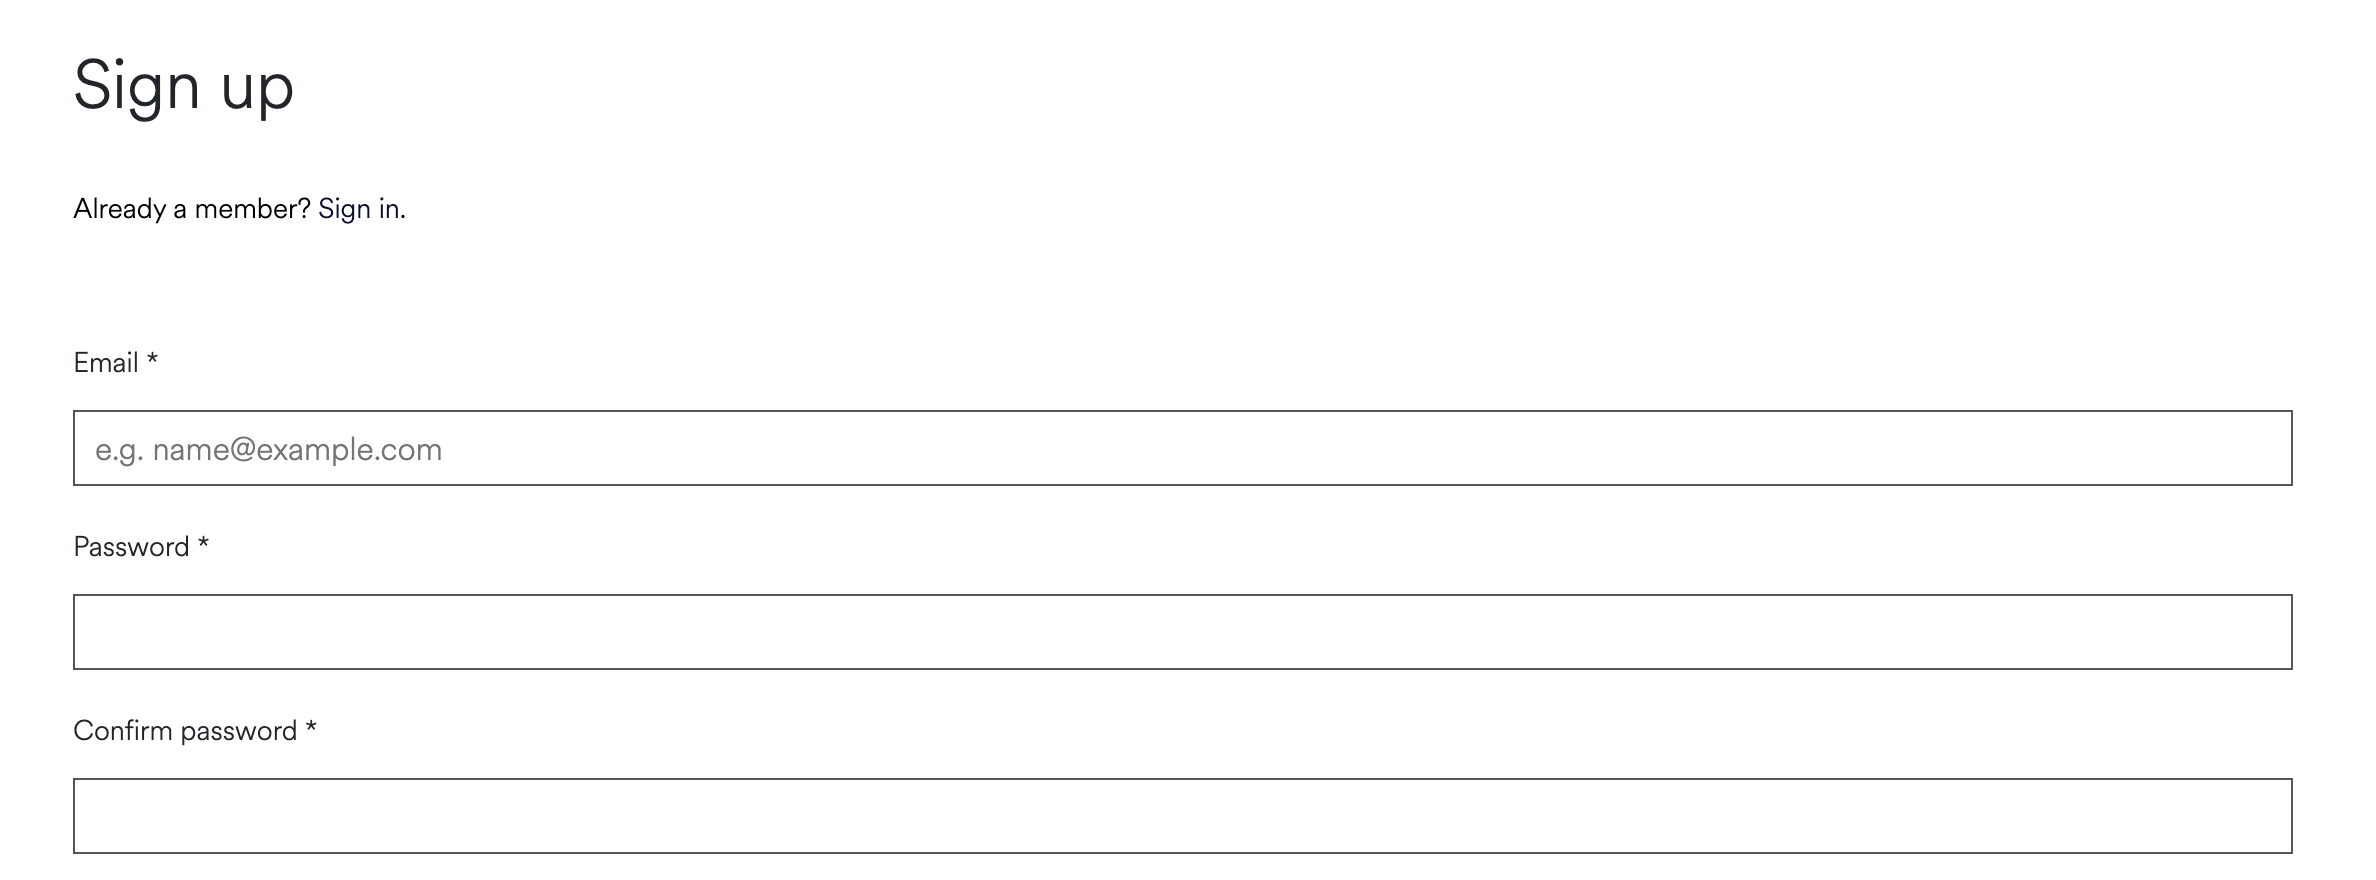
Step 1: Sign up
Before you can try out our APIs, you need to sign up for Open DIPS!
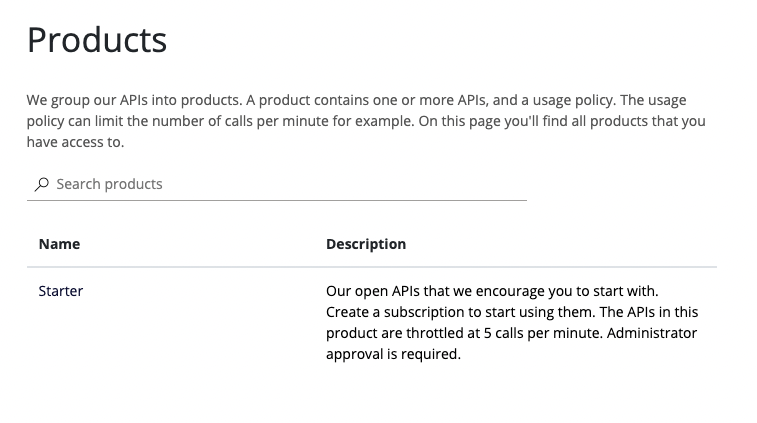
Step 2: Subscribe to a product
Products are a way for us to categorize APIs. You need to subscribe to a product to get access to APIs. For starting developers, we recommend subscribing to the Starter product. In the Starter product you'll find APIs required to log a user into DIPS and getting basic administrative data.
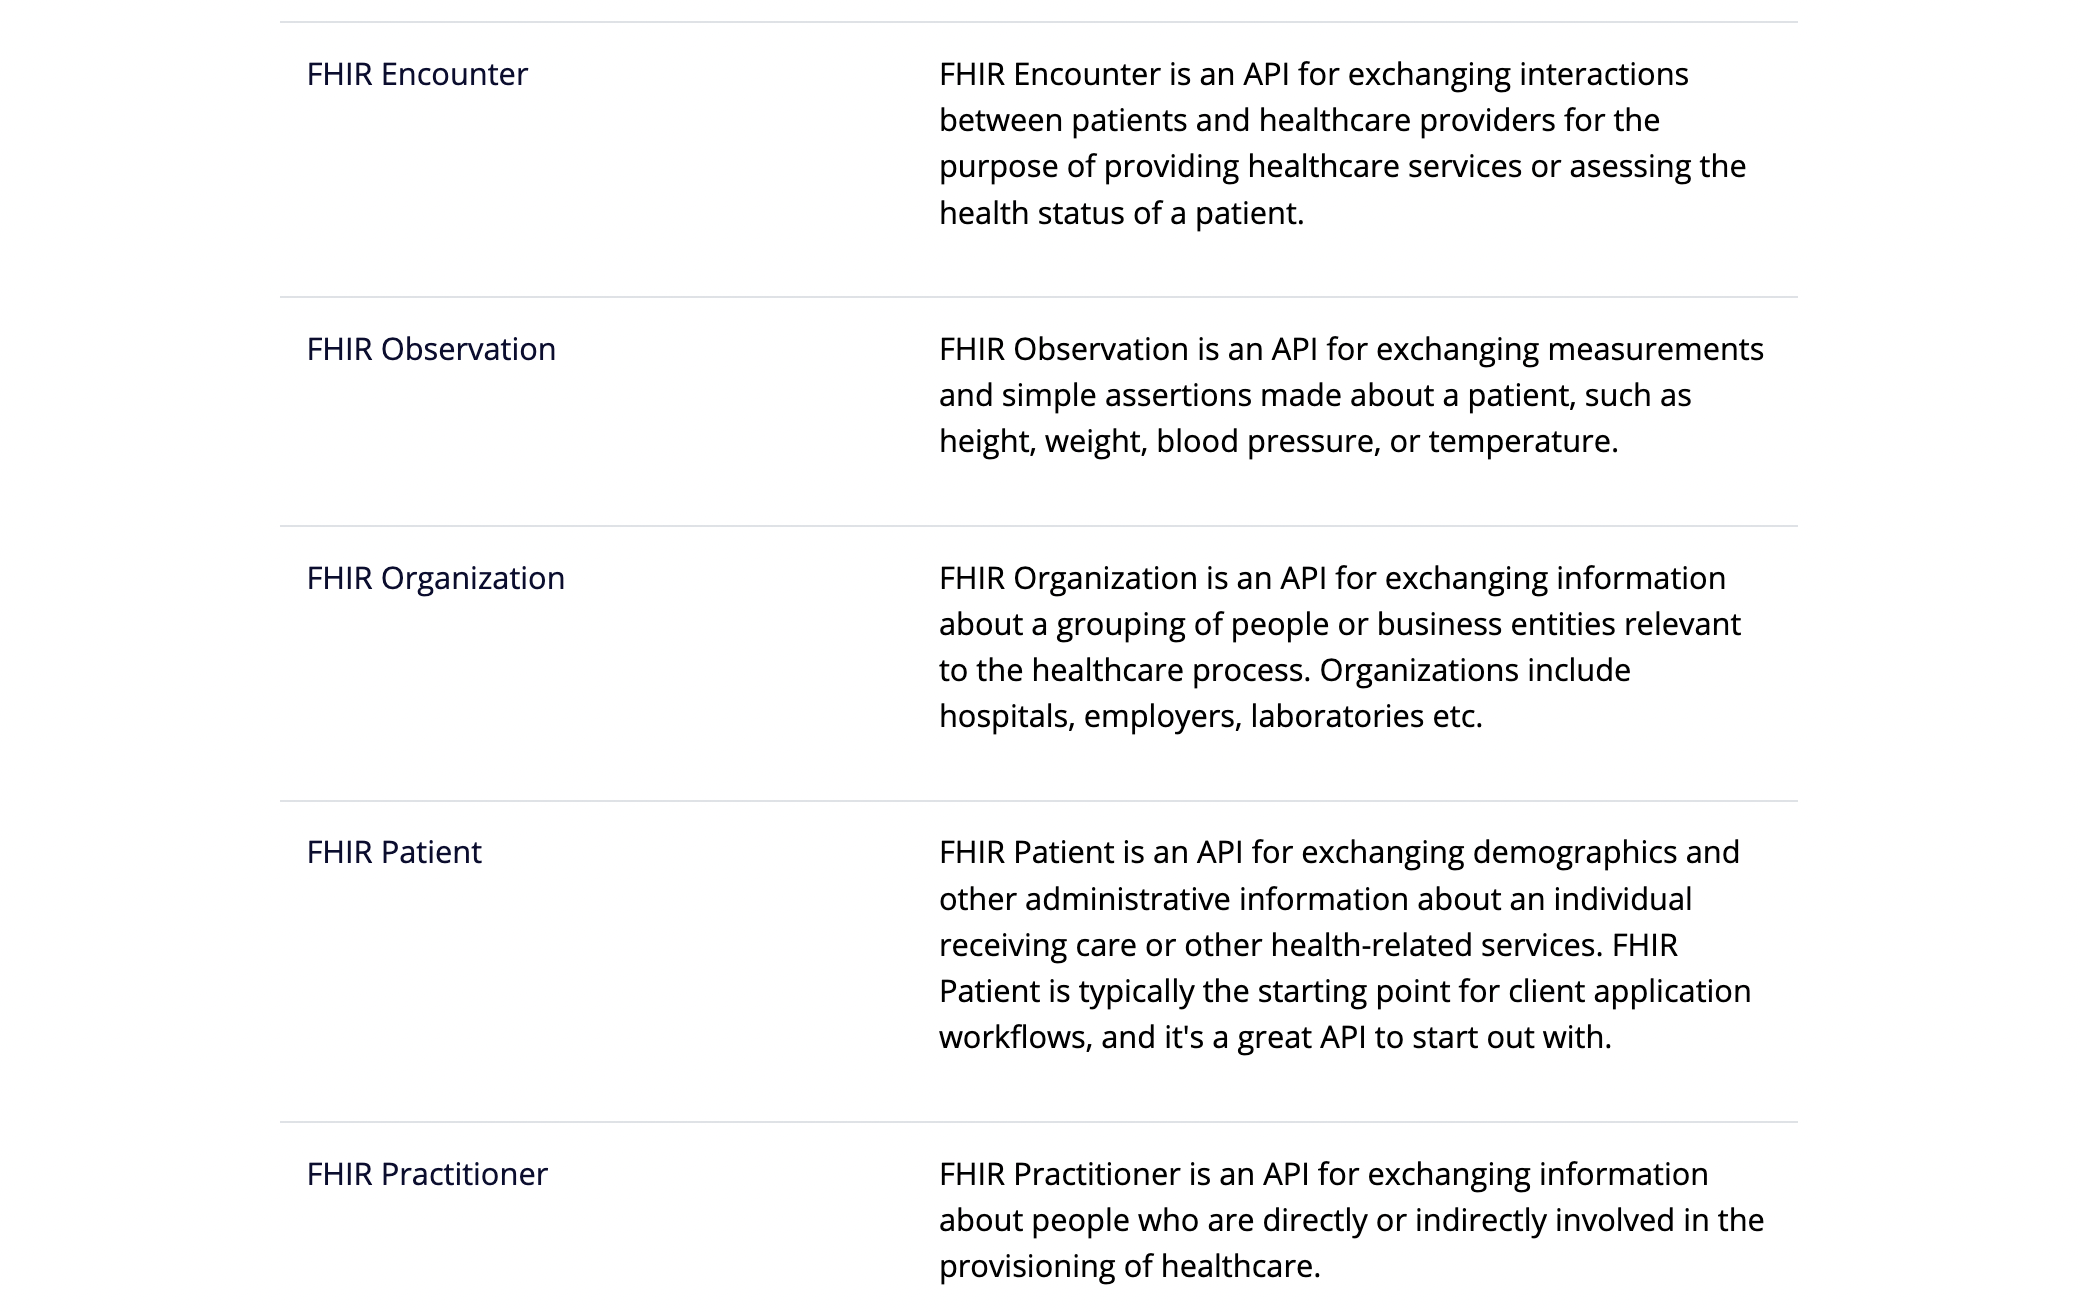
Step 3: Find the FHIR Patient API
From the list of all our APIs, find the FHIR Patient API to try it out. With the FHIR Patient API you can search for, and look up information about, patients in DIPS. Click Try it on the right hand side to start testing the FHIR Patient API.
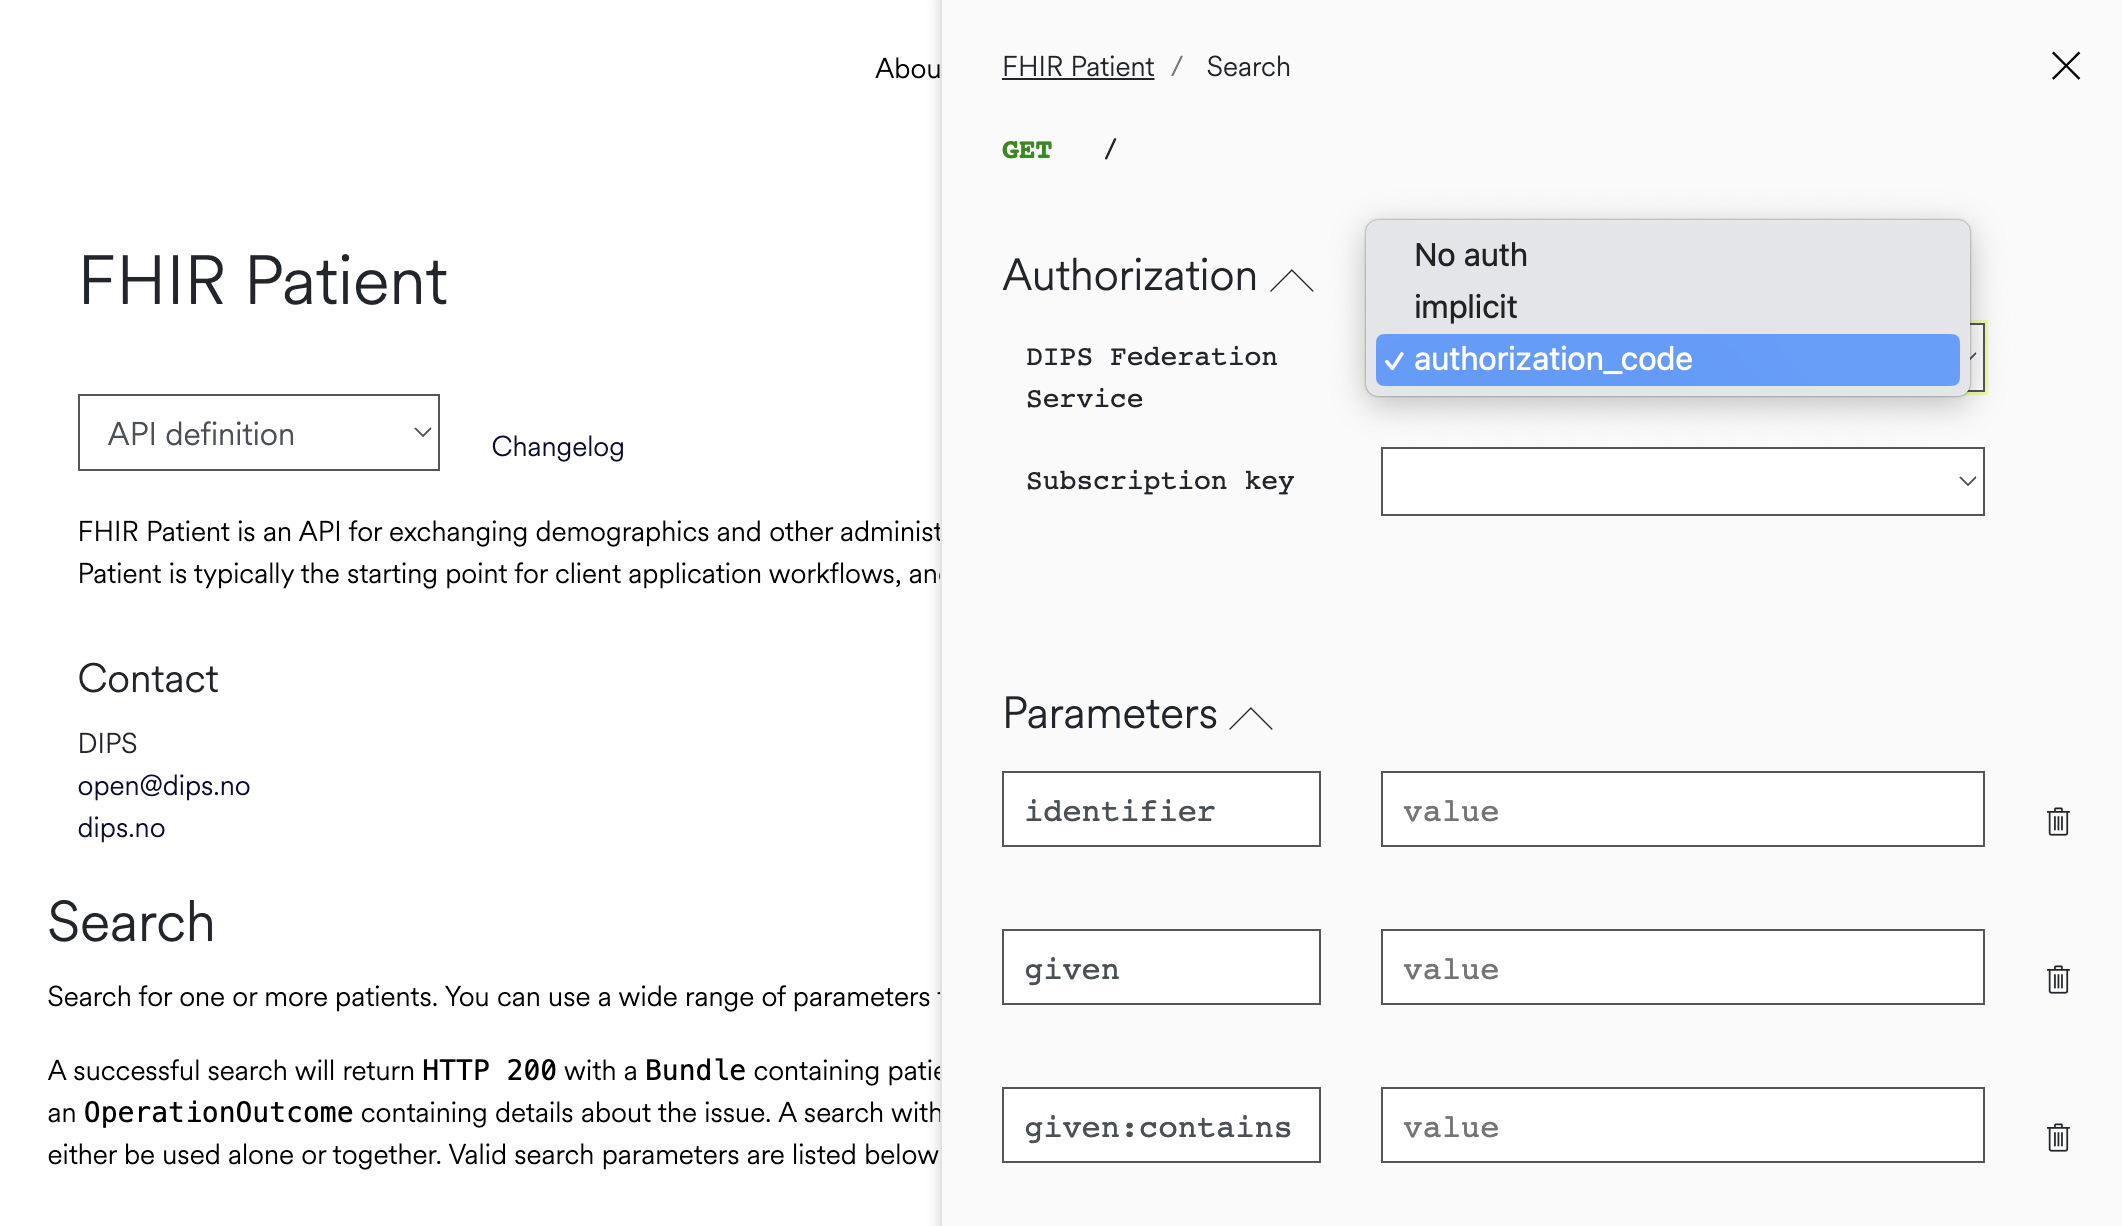
Step 4: Authenticate with DIPS Federation Service
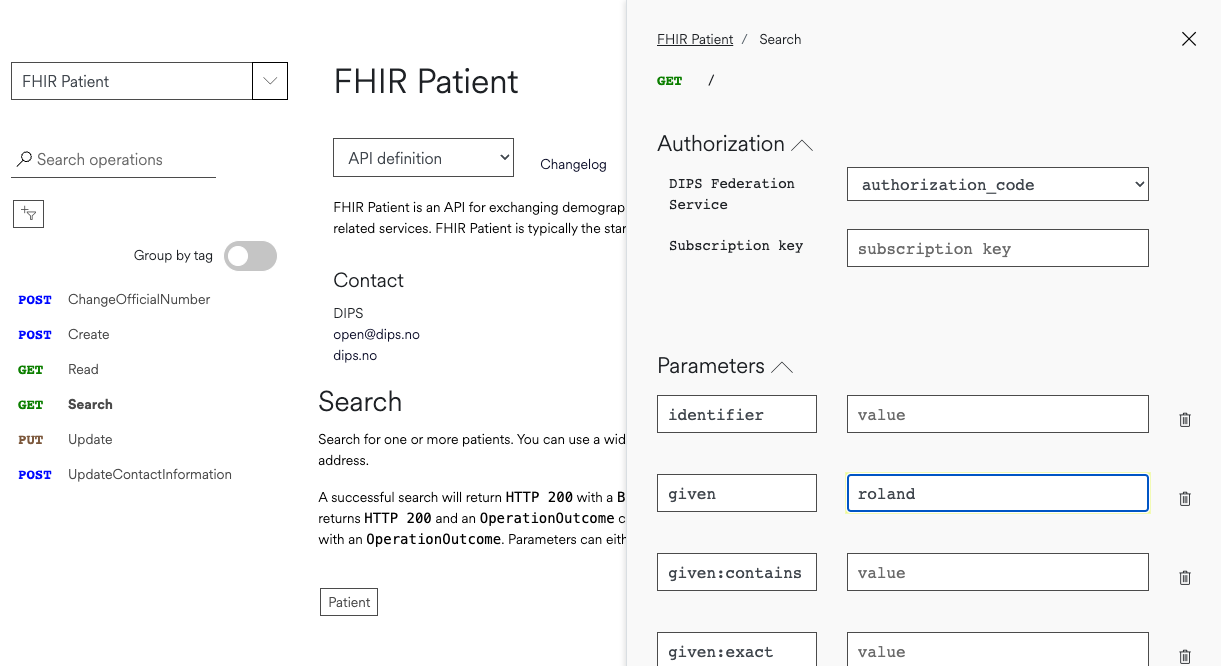
To get data from DIPS, your need to authenticate yourself. To log in a user, you can use the DIPS Federation Service. The DIPS Federation Service is an Open ID Connect Provider, meaning that you can use any OpenID Connect library to communicate with it. To log in and test the FHIR Patient API, select authorization_code from the Authorization dropdown.
In the DIPS Federation Service popup use opendips as both username and password.
Step 5: Search for Roland Gundersen
Now that you've authenticated yourself, you can search for the Norwegian test patient Roland Gundersen. The FHIR Patient API includes a search endpoint where you can type in Roland in the Given field. Scroll all the way to the bottom and click Send to search for Roland. PS: In Open DIPS you'll find most test patients from Norsk Helsenett.
For more information about test data you can visit our test data page here.
Step 6: Inspect the results
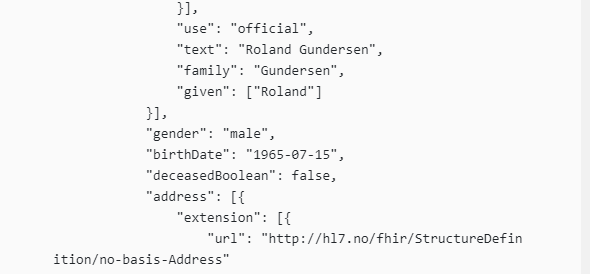
Below the Send button you'll see the results from DIPS from searching for Roland. This is raw FHIR data that follows the Norwegian patient FHIR profile. In the JSON you can read more about the Roland Gundersen test patient.
Step 7: Get creative!
We've now shown you how you can get started with one of our APIs. Now it's up to you to create something amazing! Explore our APIs, develop great systems, and have fun! If you want to get in touch, reach out to us at open@dips.no.
We have created a demo application using SMART on FHIR you may check out here. The code is open source, feel free to check it out on Github and use it as inspiration.
Bonus: Postman
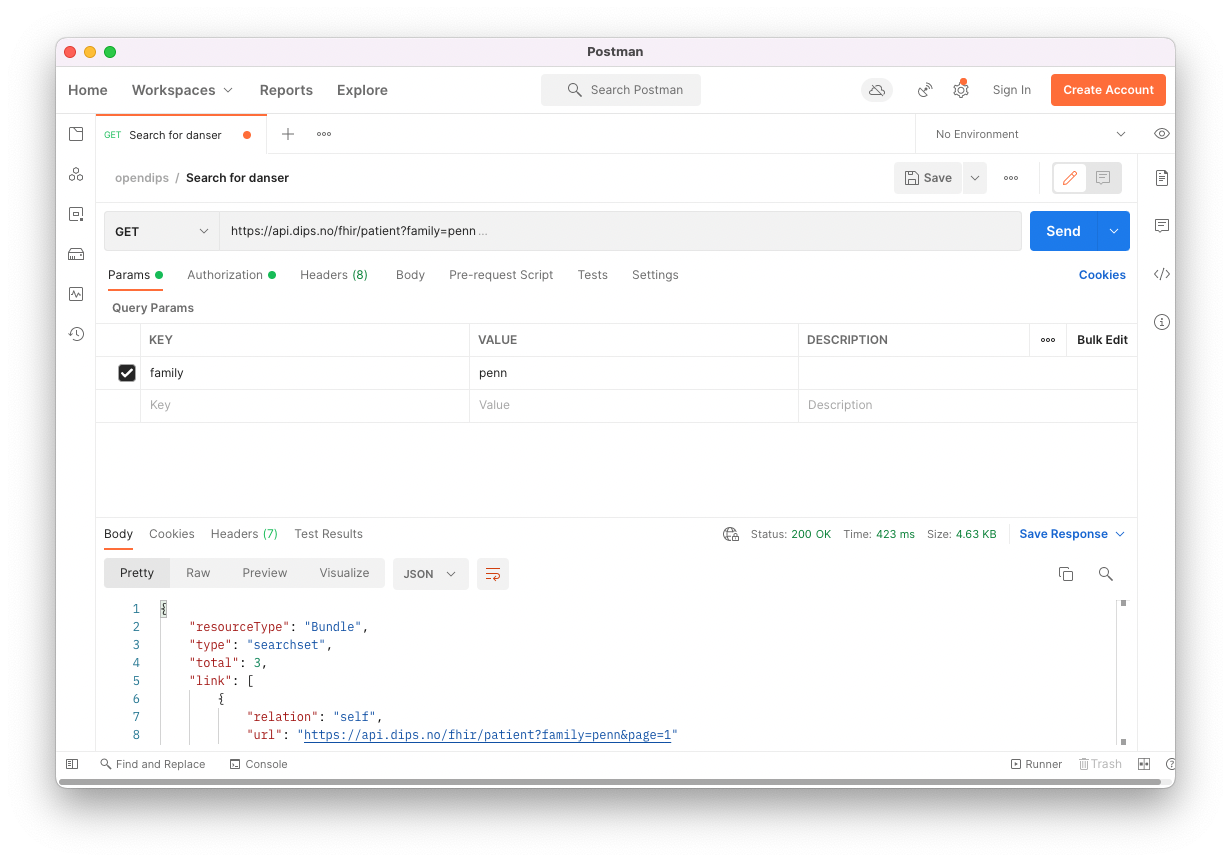
If you are a Postman user you can use it to try our APIs as well! Here's how you configure Postman with Open DIPS:
Use OAuth 2.0 authorization for the requests
Set Grant Type to Authorization Code
Check 'Authorize using browser'
Set Auth URL to https://api.dips.no/dips.oauth/connect/authorize
Set Access Token URL to https://api.dips.no/dips.oauth/connect/token
Set Client ID and Client Secret postman
Set at least the openid offline_access and dips-fhir scopes
Click 'Get New Access Token' to get a new access token. This will open your web browser and you are prompted to enter your DIPS credentials. Check open.dips.no/data for a test user. Back in Postman remember to click Use Token before sending any requests.
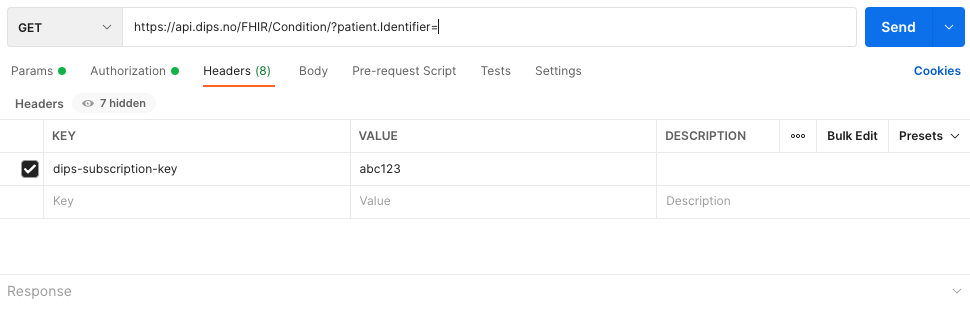
Since we require all users to add a dips-subscription-key to the API calls, you need to manually add it to all requests. You'll find your subscription key on your profile page.